Showing posts with label Form. Show all posts

Wednesday, February 10, 2016

Jamestown First Graders create Monet's Garden with Clay Frogs!

First grade artists have been studying the art and life of Claude Monet! They learned about how he was an impressionist and so his artwork was not clear like a photograph but instead is full of blobs, smears and brushstrokes! We learned about how much Monet loved to paint outside, especially in his garden. 


We read a book about a frog named Phillipe who found safety in Monet's garden and really enjoyed the beauty there.


We painted with blurry blobs like Monet when we painted water on these cardboard pizza rounds!


We learned more about Monet's work by watching the Getting to Know the World's Famous artist video while we worked!


We then used different values of green construction paper to create the lily pads and tissue paper to create the 3D flowers! 

After this was complete, we compared and contrasted two of our art elements: shapes and forms. We enjoyed creating Phillipe the frog out of Model Magic clay!


The final product is being proudly displayed in our library!


Learning Goals:

I can identify the art of Claude Monet and the Impressionists
I can describe the differences between form and shape
I can manipulate clay and create a frog
I can demonstrate a variety of values in my paint and in my lily pads. 

Tuesday, March 24, 2015

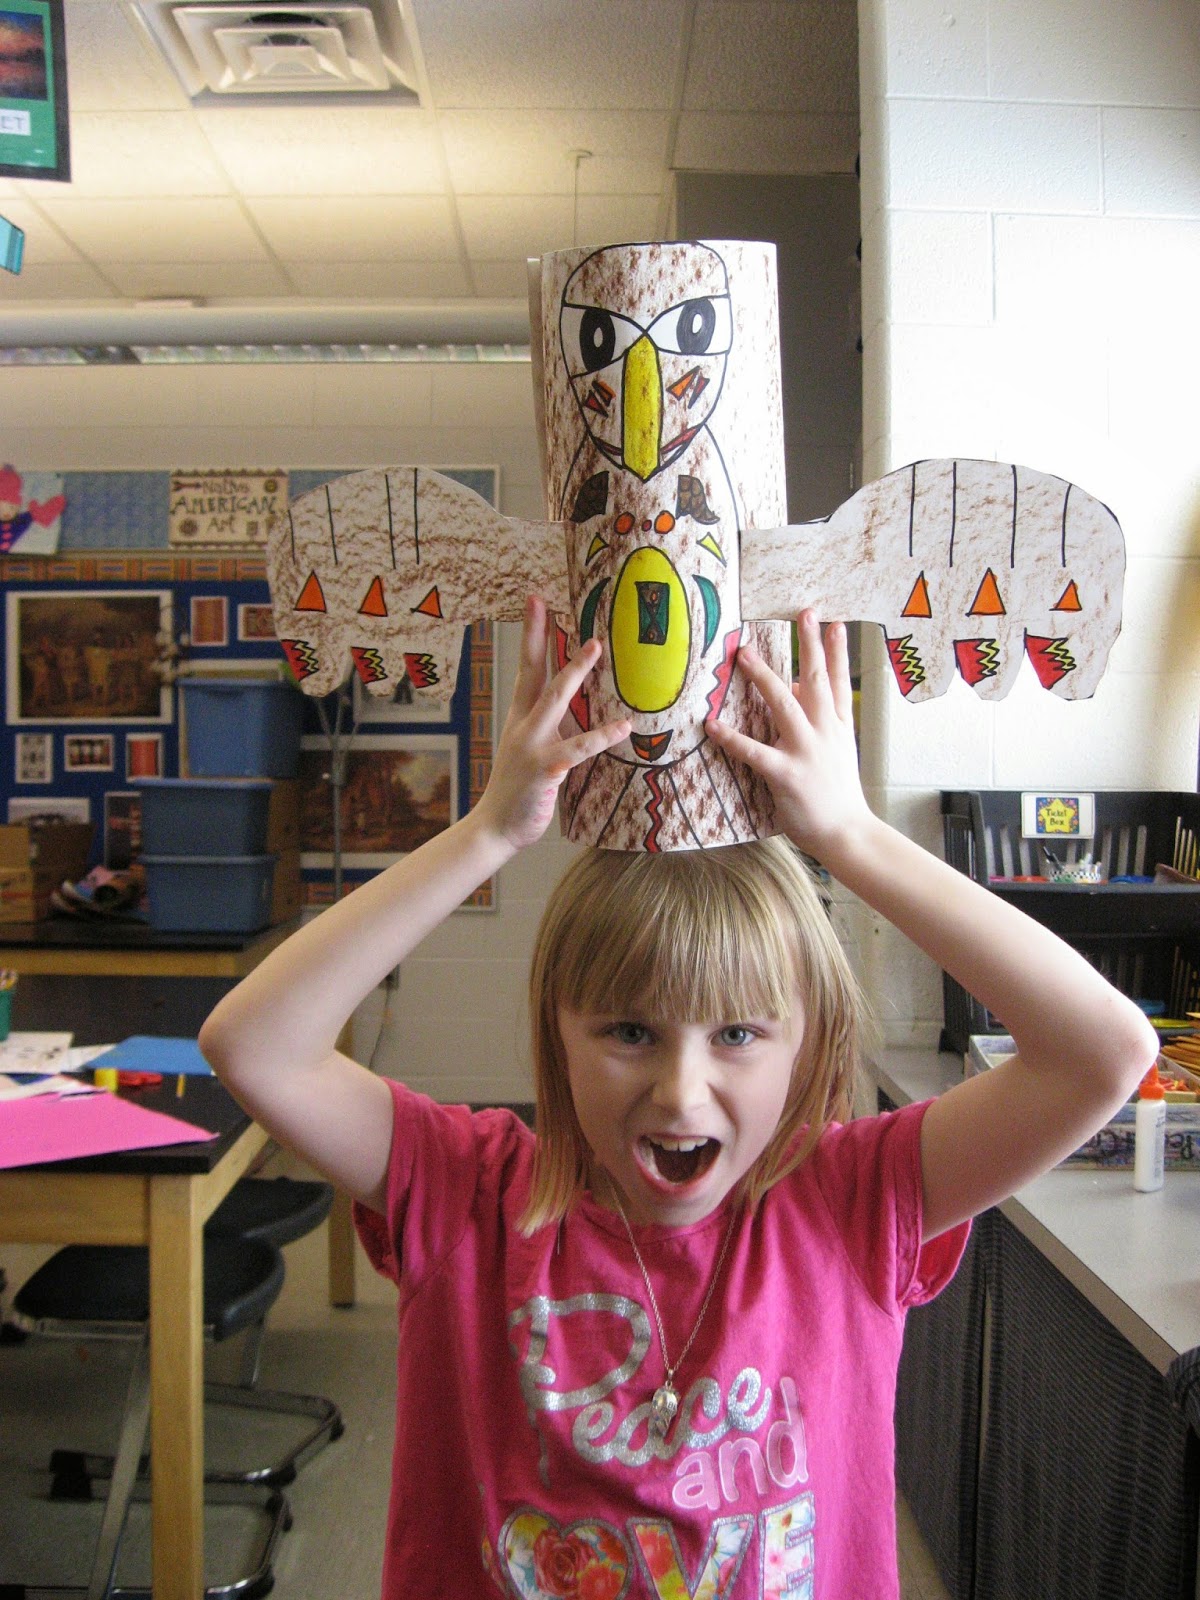
Jamestown Elementary: 2nd Grade Native American Totem Poles!

2nd Grade artists added to their knowledge of Native American Art and Culture when they looked at why the Pacific Northwest tribes made Totem Poles, how they created them, and what significance totems had to their culture. We had wonderful discussion around a totem pole slide show, sketched some totem pole ideas, read a fiction book about totem poles (Called "Totem Tale"), and created our own 3D (form) totem poles.


Download Native American Overview Slide Show Here

Download Native American Totem Pole Slide Show Here

After discussing the slide show on Native American Totem Poles on the first day, students sketched multiple ideas for their pole. We though about which animals we could tell a story about like the Native Americans did. After they chose their best sketch, we began our own animals for our class pole.


On the second day of our project, we read the book "Totem Tale" and looked at images of totems from the internet and from our other resource books. 


Students were proud to display their fabulous creations in our school library!


Learning Goals:
Students will be able to discuss why Native Americans used Totem Poles
Students will sketch multiple ideas for a totem pole of their own
Students will create their own totem pole
Students will understand the difference between form and shape
Students will practice with their knowledge of warm and neutral colors

Sunday, March 2, 2014

Forest Grove and Bauer Elementary: Farms and Forms

Wow!  First graders continue to amaze me with their skills!  The only tool we used to create these drawings was a parallelogram stencil! I decided I would give each child their own parallelogram to trace since the parallelogram is the hardest part of drawing a cube.  This was a new shape for most students and we certainly discovered how useful it could be!


First we traced the parallelogram in the middle of the paper.  Then we used the side with the green line as a straightedge.  This also gave the children a reference point for line lengths and directions.  We talked a lot about line directions and relationships: horizontal, vertical, diagonal and parallel.

Check out this "how to" video I created to show you how I taught the kids this lesson!  I these videos can be a great resource for other teachers and families at home!

The Barn Drawing Video: I don't like to use stencils  for entire pictures.  Usually, if I give one to the kids I only use them to help students understand how big to make the first shape.  This was a new idea that I came up with that took stencil use to the next level! Enjoy!


On a step by step project like this, we always start with pencil.  We do the toughest part on both sides of the paper (the barn in this example) and the kids decide which of their own drawings is best.  Then they edit the better drawing.  Once the kids learn to do this process (2 drawings) it helps them stay positive and keep moving forward.  Even when the kids make a mistake they know they will be able to do a second drawing and edit the best one later.  Usually, half the kids pick their first drawing and the other half choose their second drawing.  I hope you enjoy these pictures as much as I have!


Learning Goals: I can...
- Show line directions and relationships: horizontal, vertical, diagonal and parallel
- Explain which 3D shapes (forms) were used to create this picture (cube and cylinder) 
- Use a parallelogram as a tool for drawing (as a stencil, a straight edge and to estimate distances)
Paint and color carefully
- Explain what an architect does (art careers)

Inspiration for this project came from here.